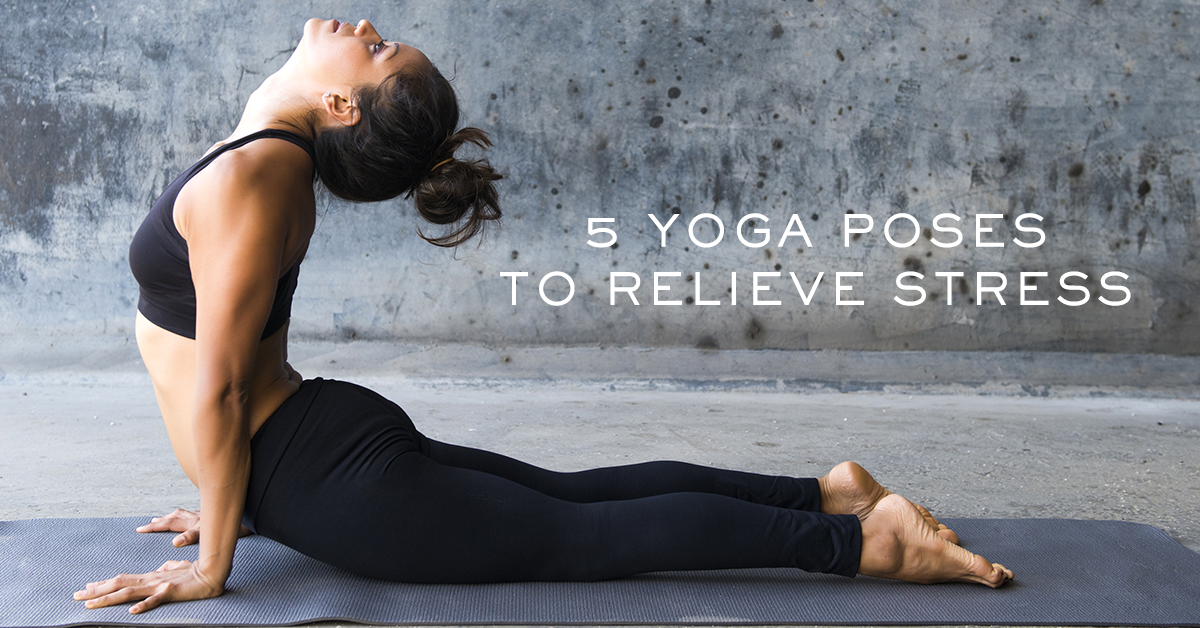
Yoga is often practiced to balance the mind, body and soul and has many health benefits. Fitness expert and Vionic Innovation Lab expert Juliet Kaska believes that yoga is also a great way to relieve stress in your life. To help you get going with the flow, Juliet is sharing the 5 yoga poses she recommends for stress relief.
1. Child’s Pose (Balasana)
- Lay on your back with your arms outstretched to a “T” position.
- Draw your knees into your chest, then bring your knees down to the right side of your body. Your left hip will come up as you twist. Try to keep the left arm down as the legs come over
- If it is comfortable for your neck, turn your head and look to your left
- With each exhale, allow the spine to relax deeper into the rotation
- Continue breathing in the pose for 1 minute
- Draw your knees back into your chest, giving them a squeeze
- Repeat on the other side
2. Easy Twist (Jathara Parivartanasana)
- Kneel on the ground with your big toes together and your knees as wide as your hips.
- Walk your hands out in front of you bringing your torso down between your thighs
- Keep your hands on the ground about shoulder width apart with your arms straight
- With each exhale, try to relax your chest down further towards the ground while pressing your buttocks back towards your heels
- Hold and breath for 1-5 minutes
3. Supine Pigeon (Thread the Needle)
- Lay on your back with your legs hip width apart, knees bent and your feet flat on the ground.
- Place your left ankle on your right knee
- Interlace your hands behind your right thigh, using your arms to pull your right thigh in towards your chest
- Your elbows will bend out to the side as your thigh comes closer to your chest
- Use your left elbow to gently press your left inner thigh away as your hands are simultaneously pulling your right leg in
- You will feel a stretch on the outside of your left hip and gluteal
- Hold here, and breath for 1-2 minutes
- Repeat on the other side
4. Legs Up the Wall (Viparita Karani)
- Lay on your side with your legs drawn into fetal position, with your buttocks close or against the wall. Note: if you have tight hamstrings, start with your buttocks about 6-12 inches from wall.
- In one movement, roll over onto your back and bring your feet on to the wall
- Once your feet are on the wall, you can determine if you are close enough or too close to the wall by extending your legs straight up.
- If you cannot get your legs straight while keeping your hips and lower back on the ground, re-bend your knees placing your feet on the wall and push your body further away from the wall until you can get your legs straight.
- If your legs are straight and there is still space between the wall and your legs, re-bend your knees placing your feet on the wall, use your arms to pull your hips closer to the wall, possibly all the way up to the wall. Slide your legs straight up the wall again.
- Once you have found your positioning, flex your feet and bring your arms out to the side in a “T” position.
- Close your eyes, and bring your attention, your mind’s eye, to the space between your brows.
- Stay here for 5 or more minutes breathing deeply, in through your nostrils and out through your mouth. (NOTE: the first few times you may only feel comfortable for 30-60 seconds, take your time to build up to the 5 minutes)
5. Savasana
I recently saw a T-Shirt worn by a fellow yogi that read, I DO YOGA FOR THE SAVASANA. Traditionally, Savasana is done at the end of a yoga practice, and can be done for a few minutes. A more advanced practice will take a 10 minute or longer Savasana. Although the positioning of the body is relatively easy, it is the intention of complete relaxation that is the hard part.
- Lay down on your back, with your legs straight and, about hip width apart, and your arms a few inches from your body with the palms facing up. If you experience strain on your lower back, try placing a rolled towel under your knees to relieve the strain
- Close your eyes
- Starting at your toes and working your way up, visualize each part of your body relaxing and releasing
- When your time is up, take a moment to wiggle your toes and fingers, before you roll over onto your right side in a fetal position. Stay in fetal position for a few seconds or longer before pressing yourself upright
- (I suggest setting a chime like alert on your phone to let you know when your Savasana is done).
Now you’re ready to roll out your mat and get your yogi on! Want even more fitness tips? Juliet shares which exercises can help strengthen your feet. Learn more here.
Leave a Reply